Torn Paper Santa Cards
Supplies:
- Red paper
- White watercolour paper (any white paper will do, but textured paper like watercolour paper looks great for the beard and hat)
- Pink or flesh tone paper
- A black marker pen
- Make-up blush or a pink crayon
- Glue
Directions:
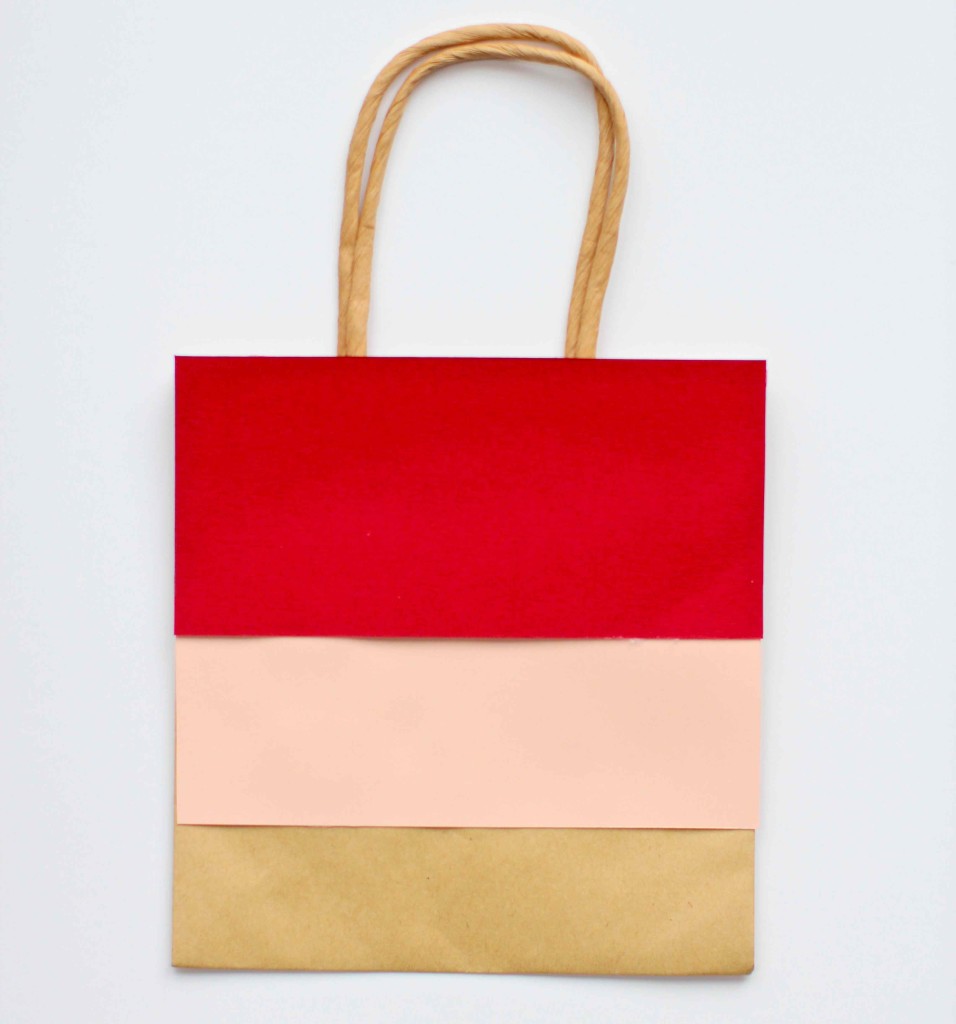
- Cut a wide strip of pink paper and paste across the centre of your bag. Trim at the sides to fit.
- Cut and glue a wide strip of red paper above, to the top of the bag (or card, or tag, or whatever).

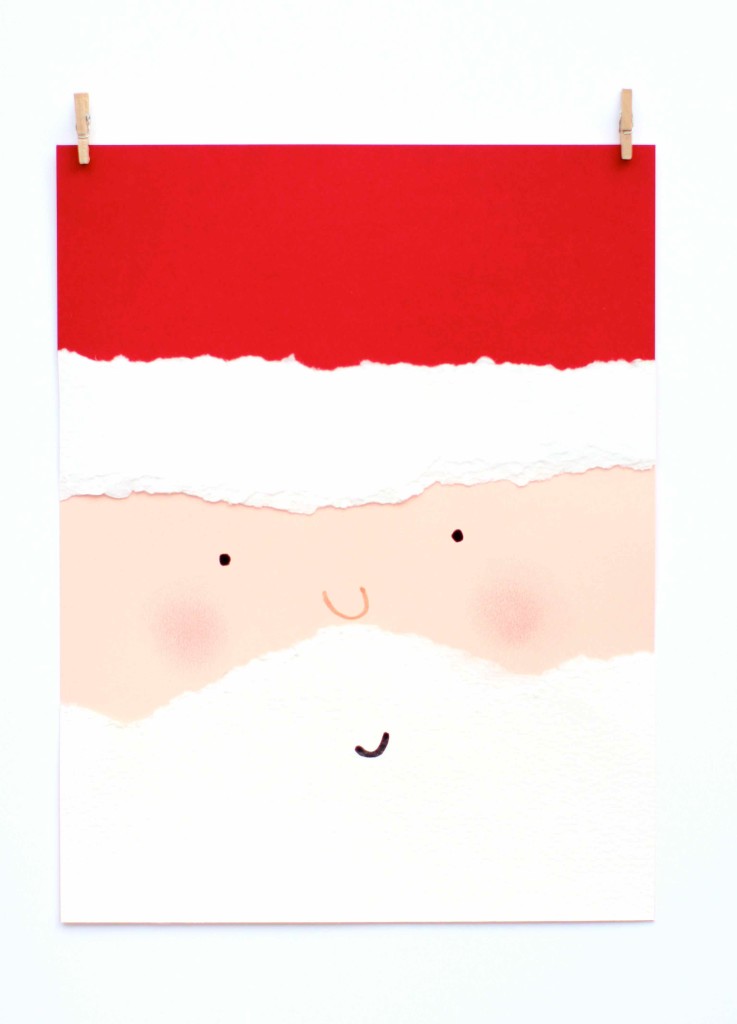
- Tear a thin strip of watercolour paper; do this roughly, don’t use a ruler, and don’t worry if it’s irregular. Glue it over where the red and pink paper meet; this is the trim of Santa’s hat. Now tear a wider piece of the white paper for the beard and moustache shape; aim for a shape which curves up in the middle like this:
- Now take your marker pens and dot two eyes and sketch a little smile (play around with expressions; each one can be different!). Use a pink pen to ink in a nose.
- Finally, dip your finger in some blusher (or use a crayon if you’re a dude), and swirl on two rosy cheeks. You could dab some on the tip of the nose too if you like; it gets cold out there on the sleigh. Ta-da; you’re done! Now just repeat – or you can scan your work of art and print it out instead; the lazy crafter’s guide to mass-production at Christmas.
Check out the rest of our blog here
Read about Project Santa here